
Remember that feeling when you look at a space and see… well, a lot of work? That was me, staring at my backyard a few years ago. It wasn’t just a bit neglected; it was a jungle of weeds, stubborn grass, and a general sense of ‘what was I thinking?’. My dream of a productive garden felt miles away.
Today, my backyard is a different story. It’s a place where I grow a significant portion of our food, a small orchard is starting to take shape, and it’s humming with pollinators. The journey wasn’t instant, but it was incredibly rewarding. Here’s how I turned that overgrown mess into my dream garden.
Step 1: The Great Clearing
The first hurdle was the sheer amount of manual labor. I tackled it section by section, starting with the most overgrown areas. My tools were simple: a sturdy shovel, gardening gloves, a wheelbarrow, and a lot of determination. I learned quickly that digging out persistent weeds, especially those with deep taproots, is a workout! My strategy was to loosen the soil around the roots first, making them easier to pull. It took several weekends, but clearing the land was the essential first step.
Step 2: Understanding the Soil
Once cleared, I realized I couldn’t just start planting. The soil was compacted and depleted from years of neglect. I got a soil test done, which gave me a good idea of what nutrients were missing and the soil’s pH. Based on the results, I started incorporating a lot of compost. I’ve always been a big believer in composting kitchen scraps and yard waste, and this was the perfect opportunity to put that compost to work. Adding compost improves soil structure, aeration, and water retention, essentially bringing the soil back to life.
Step 3: Planning the Layout
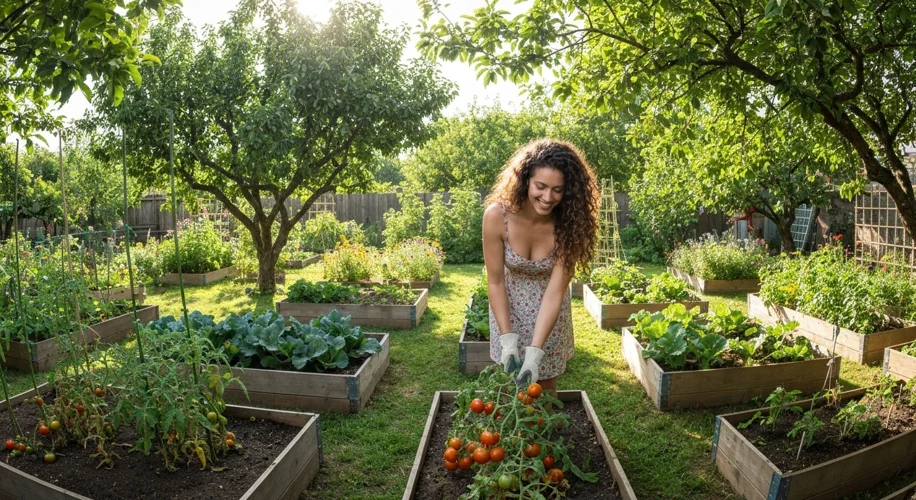
With a cleaner canvas, I started planning. I sketched out where I wanted raised beds for vegetables, a small area for berry bushes, and a few fruit trees. I thought about sunlight – which areas get full sun, partial shade, and how that would affect plant choices. I decided on raised beds because they offer better drainage and control over the soil, and they’re easier on my back. For pathways, I used wood chips, which suppress weeds and create a neat look.
Step 4: Planting and Nurturing
This is where the real magic begins. I started with easy-to-grow vegetables like lettuce, radishes, and beans. I learned about companion planting – grouping plants that benefit each other. For example, planting basil near tomatoes is said to deter pests. As the season progressed, I added more: tomatoes, peppers, zucchini, and cucumbers. I also planted a few fruit trees – an apple, a pear, and a plum – knowing they’d take a few years to mature but would be worth the wait.
Challenges and Rewards
It wasn’t all smooth sailing. Pests were a challenge, and I learned to manage them organically, often using companion planting or introducing beneficial insects. There were also times when a crop didn’t do as well as I’d hoped, teaching me about patience and adaptation. But the rewards? Immense. The taste of a tomato picked fresh from the vine, the joy of harvesting my own salad greens, and the quiet satisfaction of watching my garden thrive – these are incomparable.
If you’re looking at your own neglected patch of earth and feeling daunted, I encourage you to start small. Clear a little space, improve the soil, and plant something you love to eat. With time, patience, and a little bit of dirt under your fingernails, you too can transform your backyard into a productive and beautiful oasis.