
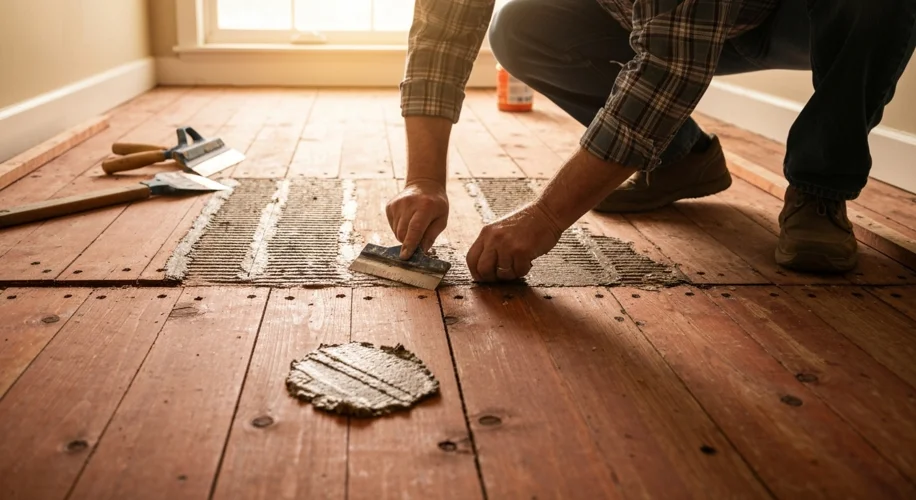
So, you’re diving into a home renovation project. Exciting stuff! You’ve got plans to retile a bathroom and lay down some fresh laminate in the bedroom. But before the new materials go down, there’s the less glamorous task of dealing with what’s already there – specifically, old tile glue and lining compound on your subfloor.
This brings up a common question for DIYers: how thoroughly do I really need to remove that old adhesive? Do I need to get down to bare wood, or is a reasonably smooth surface good enough?
Let’s break it down. The goal of removing old adhesive is to create a stable, smooth, and well-bonded surface for your new flooring. Think of it like preparing soil for planting – you want it ready to receive and support new growth.
Why Removal Matters
- Adhesion: New adhesives, whether for tiles or the underlayment for laminate, need a clean, dry, and sound surface to bond effectively. A layer of old glue can prevent this direct contact, leading to weak bonds. This can result in tiles that loosen or grout that cracks prematurely, or laminate that shifts or squeaks.
- Levelness: Thick or uneven patches of old adhesive can create high spots or valleys on your subfloor. This means your new flooring won’t be perfectly flat. For tile, this can lead to lippage (where one tile edge is higher than the next), which is not only unsightly but also a tripping hazard. For laminate, an uneven subfloor can cause the planks to flex, stressing the locking mechanisms and potentially leading to failure.
- Moisture: Some old adhesives might hold moisture, especially if there’s been any past water issues. Leaving this behind could potentially compromise the new flooring, particularly laminate which is sensitive to moisture.
How Clean is Clean Enough?
Generally, the aim is to remove as much of the old adhesive as possible, ensuring the subfloor is:
- Smooth: You shouldn’t feel significant bumps, ridges, or lumps of old adhesive when you run your hand over it. A light scraping should reveal a mostly uniform surface.
- Sound: The subfloor itself should be solid and not crumbly or soft underneath the adhesive.
- Dry: Ensure there’s no residual dampness.
What About Minor Residue?
If you’ve scraped and scraped and there’s still a thin, uniform film of adhesive remaining, it might be acceptable for certain applications. For example, if the residue is very thin, adheres tightly to the subfloor, and doesn’t create any noticeable unevenness, it might not need to be removed down to the bare subfloor. Manufacturers of tiling and flooring products often provide specific guidelines in their installation instructions. Always check these!
For instance, a thin, well-adhered layer of vinyl-backed carpet adhesive on a concrete subfloor might be acceptable under certain types of laminate or vinyl flooring. However, a thick, crumbly, or uneven layer of mastic would definitely need to go.
Tools of the Trade
Removing old adhesive can involve several tools, depending on the type of adhesive and subfloor:
- Scrapers: A floor scraper or a stiff putty knife can work for softer adhesives.
- Power Tools: For tougher jobs, a floor scraper attachment for an oscillating tool or a floor buffer with a stripping pad can be very effective. For concrete, a grinder with a diamond cup wheel is often used.
The Bottom Line
When in doubt, it’s almost always better to err on the side of caution and remove more rather than less. A perfectly prepped subfloor is the foundation for a long-lasting, beautiful new floor. Skipping the thorough prep work now could lead to much bigger headaches and repair costs down the road. So, get out there, do your best to get it smooth and clean, and set yourself up for a successful renovation!