
Water damage can be a real headache, especially when it comes to our floors. If you’re facing a section of layered flooring that’s seen better days thanks to a leak, don’t worry – it’s often a repairable situation with a bit of planning. Today, we’re diving into how to tackle this, focusing on getting that area level and ready for whatever comes next.
Think of repairing a section of flooring like building a mini-patio. We need a solid base, the right materials, and protection from moisture. Since we’re dealing with layered flooring, we’ll be working from the bottom up.
Understanding the Damage and Subfloor
First things first, ensure the moisture source has been completely stopped and the affected area is thoroughly dried out. This might involve fans and dehumidifiers for a few days. Once dry, you’ll need to remove the damaged flooring layers. Depending on what you have, this could be carpet, vinyl, tile, or even engineered wood.
Beneath the flooring is the subfloor, usually plywood or oriented strand board (OSB). If this subfloor is soft, spongy, or shows signs of rot, it needs to be replaced. Cut out the damaged section, making sure your cuts go into solid, undamaged material. For a clean edge, you can often use the intact part of the subfloor as a guide to cut a new piece of plywood or OSB to fit the gap.
Building the New Layer
Now, let’s talk about rebuilding. The goal is to create a surface that matches the height and stability of your existing floor.
- Plywood: For most subfloor repairs, a new piece of plywood (the same thickness as your original) is the go-to. Screw it securely into the joists below. This provides a strong, stable base.
- Cement Board: If you’re repairing an area that might be prone to moisture in the future, or if you plan to tile over it, cement board is an excellent choice. It’s rigid and doesn’t degrade when wet. It’s typically installed over the plywood subfloor with special screws.
- Foam Board (Insulation Board): While not typically used as a primary structural layer in flooring repair, rigid foam insulation boards are sometimes used in specific underlayment systems. For a direct repair of a damaged section, sticking to plywood or cement board is usually more appropriate for structural integrity.
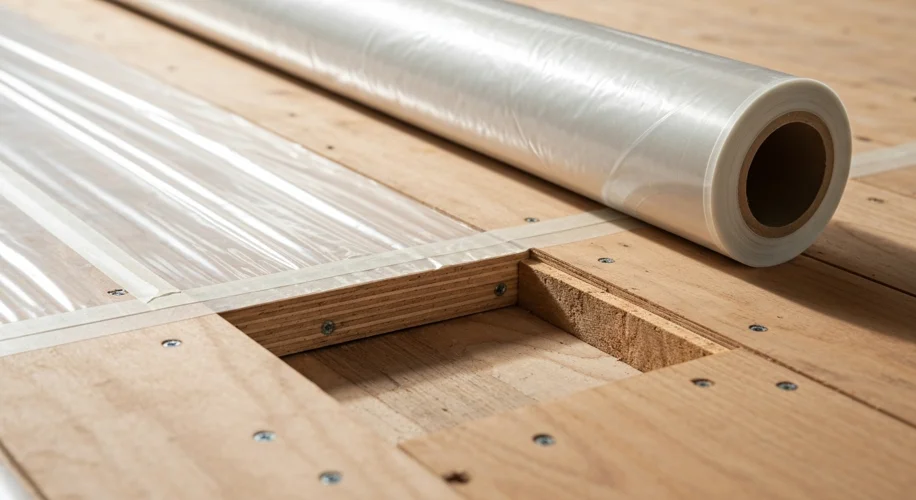
Moisture Control is Key
Living in a place like Florida means humidity is always a consideration. To combat moisture seeping into your subfloor from below, a vapor barrier is crucial. After you’ve installed your new subfloor material (or even after replacing a damaged section of the old subfloor), lay down a sheet of polyethylene sheeting. Overlap the seams by at least 6 inches and tape them with appropriate construction tape. Extend the plastic up the walls slightly if possible. This creates a barrier to prevent ground moisture from migrating upwards.
When you’re cutting into old materials, like the edges of the existing subfloor or underlayment, you might encounter some rough edges. It’s a good idea to seal these cut edges with a wood sealant or primer before proceeding. This adds an extra layer of protection against moisture and helps prevent future issues.
Finishing Up
Once your new layer is in place and the vapor barrier is laid, you can install your finished flooring. Remember to check the manufacturer’s recommendations for your specific flooring type, as they may have specific underlayment or moisture-barrier requirements.
Repairing water-damaged flooring is a process that requires attention to detail, especially regarding moisture control. By taking a layered approach and ensuring everything is dry and protected, you can successfully restore your floor and keep it looking great.