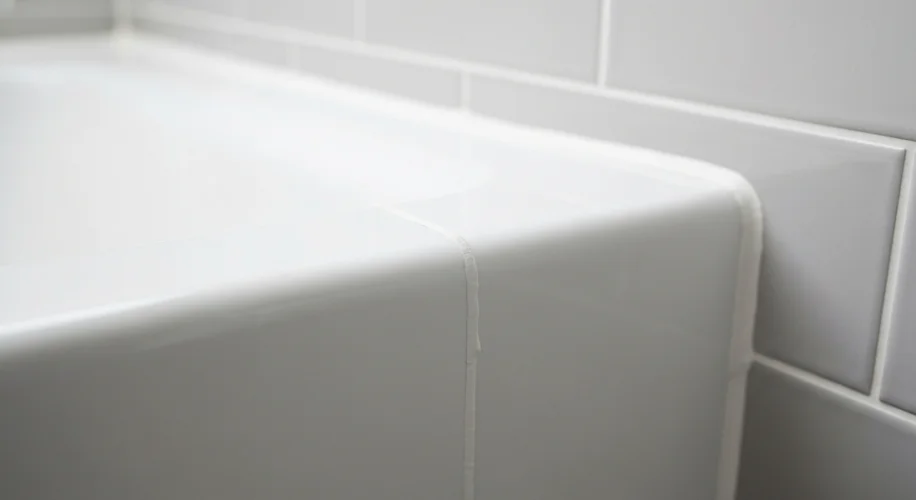
It’s a common sight in bathrooms, especially around the tub or shower: that once-pristine grout line between the tub lip and the tile starting to crumble. If you’re a homeowner facing this, you might be wondering if it’s a sign of bad installation or if a different kind of sealant is needed. The good news is, this is usually a fixable DIY project that can make your bathroom look much cleaner and prevent bigger water issues down the line.
I’ve been there, and let me tell you, a failing grout line isn’t just unsightly; it can let water seep behind your tiles, which is definitely not what we want. So, what’s the deal with this gap?
Often, the material used in this specific transition isn’t just standard grout. While grout is fantastic for filling the spaces between tiles, it’s rigid. When you have a joint between two different materials, like a tile surround and a solid tub, there’s bound to be some slight movement, especially with temperature changes or when the tub is filled with water. A rigid grout line can’t handle that movement and will eventually crack and crumble. This is where a more flexible sealant, like caulk, usually comes into play.
So, if your grout is crumbling here, it’s likely that a flexible sealant was either not used correctly or has simply reached the end of its lifespan.
Here’s a simple approach to tackling this DIY repair:
- Prep Work is Key: Start by removing all the old, crumbling grout. A grout saw or a utility knife can be your best friend here. Be careful not to damage the tile or the tub surface. You want to get down to a clean, solid base.
-
Clean, Clean, Clean: Once the old stuff is out, thoroughly clean the joint. Use a bathroom cleaner and an old toothbrush to scrub away any soap scum or mildew. Rinse well and let it dry completely. A clean surface is crucial for the new sealant to adhere properly.
-
Choose Your Weapon: For this specific application – the transition between a tub and tile – a high-quality, mold-resistant bathroom caulk (often silicone or a silicone-acrylic blend) is usually the best choice. It’s flexible and designed to withstand moisture.
-
Application Time: Cut the tip of the caulk tube at a 45-degree angle, making a small opening. If your caulk gun allows, set a small bead. Apply a continuous, steady bead of caulk along the joint. Try to push it into the gap rather than just laying it on top.
-
Smooth Operator: This is where you get that clean, professional look. Wet your finger (or a caulk smoothing tool) with a little water or a soapy solution (check the caulk manufacturer’s instructions). Run your finger smoothly along the caulk bead. This forces the caulk into the joint and creates a nice, uniform finish. Wipe away any excess caulk immediately with a damp cloth.
-
Let It Cure: Most bathroom caulks need at least 24 hours to cure fully. Check the product packaging for specific drying and curing times. Avoid getting the area wet during this period.
It might take a little practice to get that perfect bead, but the result is a clean, waterproof seal that protects your bathroom and makes it look much tidier. It’s amazing what a little bit of focused effort can do for a space you use every day!

