
Hello everyone!
Today, I want to talk about something many of us face during home renovations: tile installation. Specifically, I came across a situation where a homeowner was installing subway tile in their shower and had some understandable concerns about potential issues. It’s a great reminder that even seemingly straightforward projects can have their quirks, especially when you’re dealing with the unique character of older homes.
The homeowner mentioned a few specific worries: poor thinset coverage, lippage (where the edges of tiles aren’t flush), and air gaps. These are all very common concerns, and it’s smart to be aware of them. Let’s break down why they happen and what to look out for.
Thinset Coverage is Key
When tiling, the adhesive, or thinset, needs to cover as much of the back of the tile as possible. A good rule of thumb is at least 80-90% coverage, especially in a wet area like a shower. If there are significant gaps in the thinset, it can lead to water getting behind the tiles. Over time, this can cause the tile to loosen or even damage the substrate (the surface the tile is attached to).
Checking for this involves looking at the tiles after they’re placed. Sometimes, a contractor might use a notched trowel of the wrong size or not apply enough pressure when setting the tile, leading to poor coverage. Having a contractor who is experienced and meticulous about this step is crucial.
What is Lippage and Why Does It Matter?
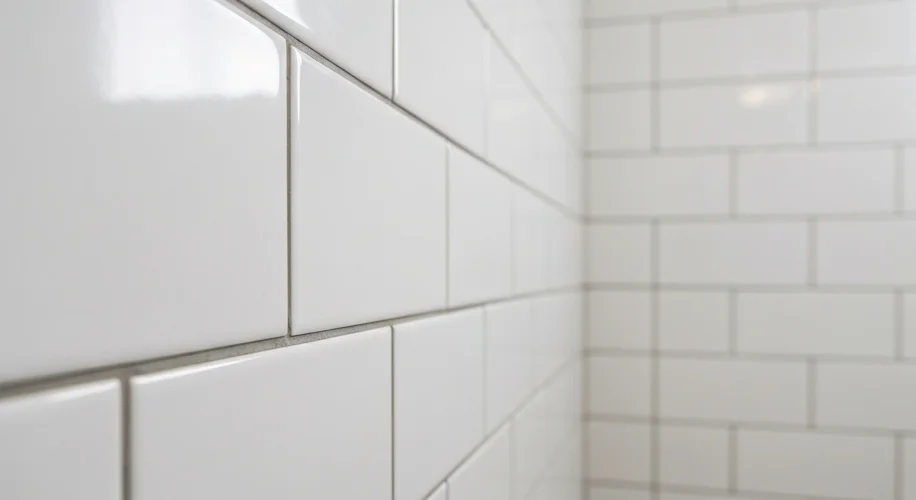
Lippage refers to the difference in height between the edges of adjacent tiles. While some slight variation can be unavoidable, especially with handmade tiles or certain natural stones, excessive lippage can be a problem. It creates an uneven surface that can be difficult to clean and can even be a tripping hazard or cause tiles to chip more easily.
Factors contributing to lippage include uneven subflooring or walls, using tiles with slight warpage, or improper installation techniques. For subway tiles, which are often laid in a running bond or stacked pattern, keeping those lines as straight and flush as possible makes a big difference in the final look and feel.
Air Gaps: The Silent Saboteur
Air gaps are essentially voids behind the tile that weren’t filled with thinset. These are similar to the problems caused by poor thinset coverage but can also result from tiles being pressed too hard into the thinset in some areas and not enough in others. These voids can weaken the bond between the tile and the substrate, making the installation more prone to failure.
A Note on Home Construction
When renovating older homes, you often encounter unique construction methods or slightly uneven surfaces. This is where a good contractor’s expertise really shines. They know how to anticipate and compensate for these variations to ensure a solid, beautiful installation. The homeowner’s positive relationship with their contractor is a great asset, as it means open communication about these concerns is likely to be well-received.
It’s always a good idea to do a little research yourself, like we’re doing now, so you can have informed conversations. Asking your contractor about their methods for ensuring good thinset coverage, how they manage lippage, and what their process is for checking for air gaps can give you a lot of confidence in the work.
Remember, a well-installed tile job is both beautiful and durable. Keep an eye on these details, and you’ll be well on your way to enjoying your new shower!