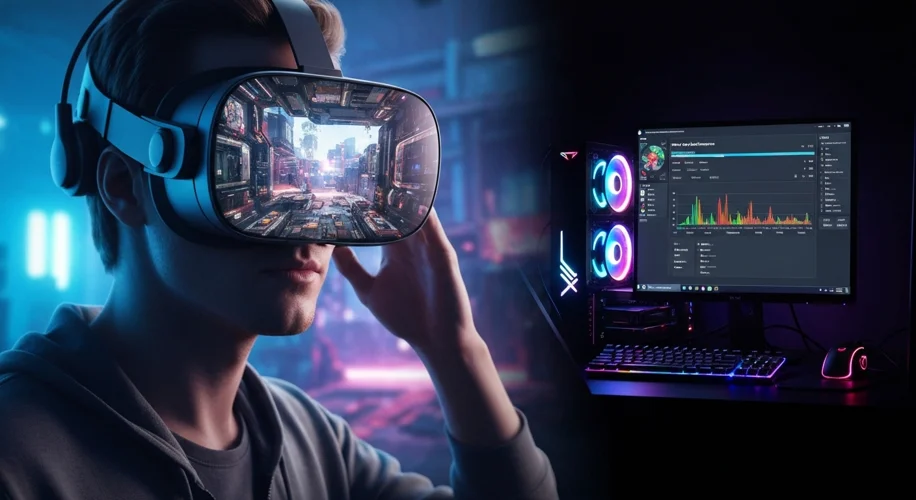
Hey everyone, Mateo here! So, you’ve dipped your toes into Virtual Reality and you’re hooked, right? But maybe your PC VR setup isn’t quite delivering that buttery-smooth, hyper-realistic experience you’re craving. I get it. You’ve dropped cash on a headset, and your rig should be pulling its weight. Today, we’re diving deep into how to squeeze every ounce of performance out of your PC for VR.
First things first: Know Your Rig. VR is demanding. That means your graphics card (GPU) is king. If you’re running anything less than, say, an NVIDIA RTX 3060 or an AMD RX 6600 XT equivalent, you might be fighting an uphill battle for higher settings. Check your headset’s recommended specs – they’re usually a good starting point.
Graphics Card Settings: Your Secret Weapon
This is where you can really tweak things. For NVIDIA users, jump into the NVIDIA Control Panel. Under “Manage 3D settings,” you can globally set things like “Power management mode” to “Prefer maximum performance.” You can also selectively adjust settings for specific VR games if needed.
For AMD folks, the Radeon Software offers similar control. Look for “Gaming” profiles and consider tweaking “Radeon Chill” or “Radeon Boost” – though tread carefully, as aggressive settings can sometimes introduce visual artifacts. The key is often finding that sweet spot between visual fidelity and frame rate.
In-Game Settings Matter
Every VR game has its own graphics options. Don’t just crank everything to ultra! Start with the recommended settings or a balanced preset, then selectively boost what matters most to you. High-resolution textures look amazing, but they eat VRAM. Dynamic lighting can be stunning but impacts performance heavily. Prioritize what gives you the most immersion.
Resolution & Refresh Rate: The Balancing Act
Your headset has a native resolution and refresh rate. Often, you can push these slightly higher through your VR software (like SteamVR or Oculus Home). But here’s the catch: pushing resolution too high will tank your frame rate. Think of it like this: rendering more pixels is like painting more dots on your screen. Your GPU has to do more work.
Generally, aiming for a stable 90Hz (or whatever your headset’s max is) is crucial for avoiding motion sickness. If you’re dropping frames, lowering the resolution rendering target (often called “render resolution” or “supersampling”) is usually the first thing to try. SteamVR’s “Video” settings offer a convenient slider for this.
Lighting & Textures: The Visual Feast
Poor lighting in-game can make even the best textures look flat. Many VR games offer settings for shadow quality, ambient occlusion, and post-processing effects. Lowering these can sometimes give you a significant performance boost without a massive visual downgrade. High-resolution textures are great, but if your VRAM is maxed out, the game might struggle to load them efficiently, leading to stuttering.
Common Pitfalls & Fixes
- Stuttering: Often caused by VRAM limitations, background applications hogging resources, or driver issues. Close unnecessary programs, update your graphics drivers, and consider lowering texture quality or resolution.
- Blurry Text: This can be a combination of in-game settings and potentially IPD (interpupillary distance) adjustment on your headset. Make sure your IPD is set correctly – it makes a HUGE difference!
- Wireless Woes: If you’re using wireless PC VR (like Air Link or Virtual Desktop), ensure you have a strong, dedicated Wi-Fi 6 or 6E router. Minimize network congestion by using a 5GHz band and keeping your PC connected via Ethernet.
Experimentation is key. What works for one game might not work for another. Play around with these settings, keep an eye on your performance monitors (many VR platforms have built-in tools), and you’ll find that sweet spot for incredible VR immersion. Happy gaming!

