
You know, in gardening, we spend a lot of time preparing the soil. We till it, amend it, and make sure it’s just right before we plant anything. If the soil isn’t good, the plants won’t thrive, plain and simple. Well, I’ve found that the same principle applies to our homes, especially when it comes to painting.
Think about your walls. They’re the backdrop for our lives, and if they’re not smooth and properly prepped, the paint job won’t look its best. It’s like planting delicate flowers in rocky, compacted earth – you’re setting yourself up for disappointment.
I used to think a quick wipe-down and a coat of paint was enough. But I learned, through a few less-than-perfect projects, that surface preparation is absolutely key to a truly flawless finish. It’s not just about aesthetics; it’s about preventing future problems, like cracks or paint peeling, down the line. This is where skim coating comes in.
What is Skim Coating?
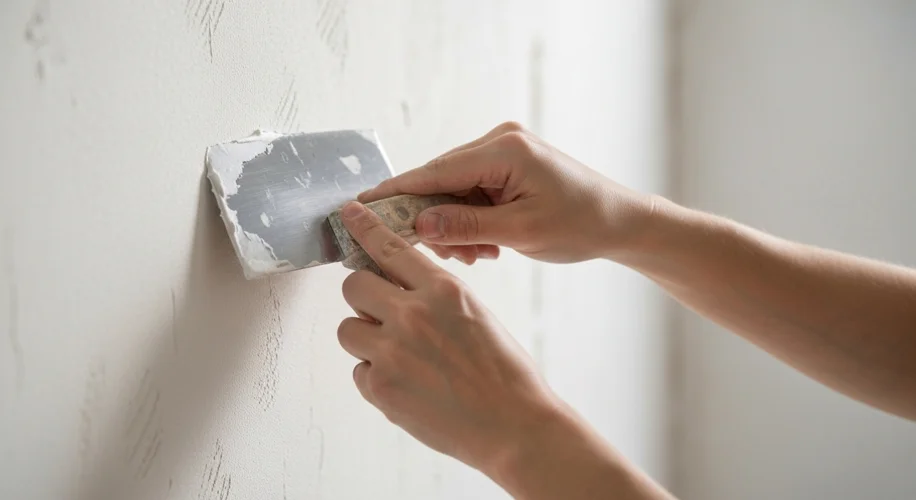
Skim coating is essentially applying a thin layer of joint compound (often called mud) over the entire wall surface. It’s like giving your walls a new, smooth skin. This isn’t about filling big holes – that’s patching. Skim coating is for evening out minor imperfections, smoothing out textured surfaces, or covering up wallpaper glue residue.
I usually apply it with a wide putty knife or a drywall knife. You want to spread it on thinly and evenly, feathering the edges so they blend seamlessly into the existing wall. It takes a bit of practice to get the hang of it, but the result is worth it. After it dries, you’ll need to sand it smooth. I use a fine-grit sandpaper or a sanding sponge, and I always wear a mask to avoid breathing in the dust. You’re aiming for a surface so smooth you can barely feel the texture with your fingertips.
Why Priming Matters (A Lot!)
Once your walls are smooth and clean, it’s time for primer. I can’t stress this enough – primer is your best friend for a professional-looking paint job.
Why? For starters, primer seals the surface. This prevents the paint from soaking unevenly into the wall, which can happen with new drywall or over repairs. It creates a uniform base, so your topcoat of paint will look consistent in color and sheen.
Primer also helps with adhesion. It gives the paint something to grip onto, which means your paint job will last longer and be more durable. And if you’re painting over a dark color or a glossy finish, primer is a lifesaver. It helps block out the old color, meaning you’ll need fewer coats of your new paint. That saves time and money!
When choosing a primer, there are different types for different needs. For most interior walls, a good quality water-based latex primer is perfect. If you’re painting over stained surfaces or need extra durability, an oil-based primer might be a better choice. Always check the paint can for recommendations.
Just like preparing a garden bed ensures healthy, vibrant growth, taking the time to skim coat and prime your walls ensures a beautiful, lasting paint finish. It’s a bit of extra work upfront, but trust me, the smooth, flawless results are incredibly satisfying. It’s another way to take care of our homes, making them a more beautiful and enjoyable space to be in.