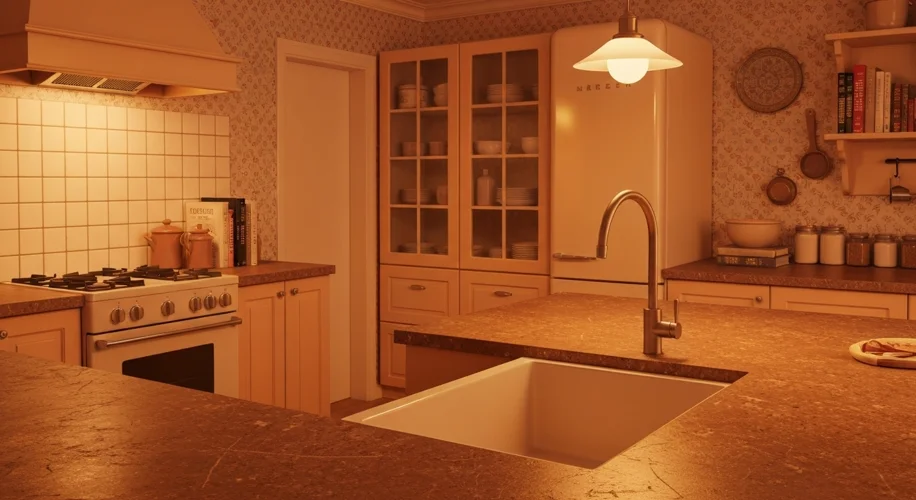
As a gardener, I’m no stranger to getting my hands dirty and learning from the soil. But this past weekend, I decided to bring that same DIY spirit into my kitchen, and let’s just say, it didn’t quite bloom as planned. I wanted to give my old kitchen cabinets a fresh look, a little facelift, you know? But oh boy, did it turn into a cautionary tale.
The Grand Plan: A Smooth, Fresh Finish
My vision was simple: crisp, clean cabinets that would brighten up the whole kitchen. I’d seen all the beautiful transformations online, and I thought, “How hard can it be?” Turns out, pretty hard if you skip the crucial steps.
Mistake #1: Skimping on the Prep Work
This was my biggest blunder. I saw “sanding” as a suggestion, not a necessity. I gave them a quick wipe-down and figured a good primer would cover up any imperfections. Big mistake. The old finish was glossy, and without proper sanding to create a “tooth” for the new paint to adhere to, it was just sitting on top, waiting for an excuse to peel.
Mistake #2: Rushing the Drying Times
Impatient? That’s me! I was eager to see the results, so I applied coat after coat, not giving each layer enough time to fully cure. This meant the paint was still a bit soft when I started handling the doors, leading to smudges, dents, and a general sticky mess.
Mistake #3: Using the Wrong Tools
I grabbed the first brush I could find, thinking any old brush would do. A high-quality brush or roller specifically designed for cabinet painting makes a world of difference. Mine left streaks and an uneven finish that just screamed “DIY disaster.”
The Aftermath: A Cabinet Catastrophe
When I finally put the doors back on, it was… disappointing. There were drips, uneven patches, areas where the old finish was showing through, and worst of all, the paint was already starting to chip in a few spots. It looked worse than before, if that’s even possible.
Lessons Learned (The Hard Way!)
So, what did I learn from this cabinet calamity? A few key things that I’ll definitely carry forward:
- Preparation is Paramount: Don’t skip the sanding. Seriously. A good sanding and cleaning will make all the difference in adhesion and durability. Think of it like preparing the soil before planting – essential for healthy growth!
- Patience is a Virtue: Allow adequate drying and curing time between coats. It might take longer, but the final result will be worth the wait.
- Right Tool for the Job: Invest in good quality brushes and rollers designed for cabinet painting. It makes application smoother and the finish much more professional.
- Test, Test, Test: Before diving into your whole kitchen, try painting a small, inconspicuous area or a scrap piece of wood to get a feel for the product and technique.
While my cabinets aren’t going to win any awards anytime soon, this experience was a valuable, albeit messy, lesson. It’s a reminder that even in home improvement, like in gardening, sometimes the most important steps are the ones you can’t always see, but they lay the foundation for everything that follows. Don’t be afraid to try things yourself, but do your homework and embrace the process, even if it includes a few oops moments along the way!

