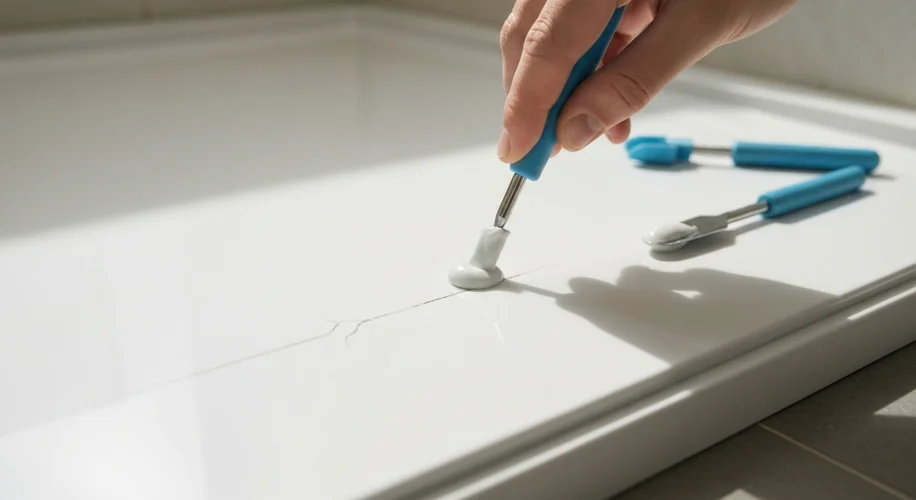
A hairline crack in your acrylic or fiberglass shower floor might seem small, but it can lead to bigger problems if left unaddressed. Water can seep underneath, causing damage to the subfloor and even leading to mold. The good news is, you can often tackle this yourself with the right approach.
Assessing the Crack
First things first, let’s figure out what we’re dealing with. For those fine hairline cracks, a good quality epoxy or a specialized acrylic repair kit is usually your best bet. Look for kits specifically designed for acrylic or fiberglass surfaces.
Repairing Hairline Cracks
- Clean the area: Thoroughly clean the cracked area and the surrounding surface. Use a mild cleaner and ensure it’s completely dry. Any moisture or residue will prevent the repair material from bonding properly.
- Prepare the crack: You might need to slightly widen the crack with a razor blade or a utility knife. This creates a small ‘V’ groove that the repair material can fill more effectively. Wipe away any dust created.
- Apply the filler: Mix your epoxy or repair compound according to the manufacturer’s instructions. Carefully apply it into the crack, ensuring it fills the groove completely. Use a putty knife or a gloved finger to smooth it out.
- Let it cure: Allow the repair material to cure fully as per the product’s instructions. This usually takes several hours, and sometimes up to 24 hours, before you can walk on it or apply any finishes.
- Sand and finish: Once cured, you might need to lightly sand the repaired area to make it smooth and flush with the surrounding surface. You can then apply a sealant or touch-up paint if needed to match the original finish.
Addressing a Sealed Contractor Hole
If a contractor previously made a hole for repairs and sealed it, the key is to ensure that seal is still intact and watertight. If you notice any issues around that area, the process is similar to fixing a crack: clean, assess if there’s any damage to the sealant or the material around it, and then reapply a suitable waterproof sealant or epoxy designed for your shower floor material.
Adding Insulation and Soundproofing (Spray Foam)
While adding spray foam insulation under a shower floor is a less common DIY project for the average homeowner and often requires professional application due to the materials involved and the need for proper ventilation, it’s worth understanding the concept. Typically, spray foam is applied in a controlled environment. If you’re looking to improve insulation and soundproofing, the space beneath the shower floor would need to be accessible, and the foam applied carefully to avoid creating air pockets or unsealed areas. For most DIYers, focusing on sealing any gaps and cracks is a more manageable approach to improving sound dampening.
Important Considerations:
- Ventilation: Always ensure good ventilation when working with epoxies or sealants. Open windows and doors if possible.
- Manufacturer Instructions: Always follow the specific instructions provided by the repair kit or sealant manufacturer. They know their product best!
- Test First: If you’re unsure about a product, test it on an inconspicuous area first.
Taking care of these small repairs promptly can save you a lot of hassle and potential damage down the line. Happy fixing!

