
There’s a special kind of joy that comes with bringing a new plant home, isn’t there? That feeling of possibility, of adding a little more green to your life. But once the initial excitement settles, the big question often arises: “What do I do now?”
For many of us, especially when we’re just starting out, that often means repotting. It can seem a little daunting, but trust me, it’s a straightforward process that will give your new leafy friend a much better start in its new home.
Why Repot?
Plants are often sold in small nursery pots that are great for transport, but not so great for long-term growth. They might be root-bound (meaning the roots have filled the pot completely and are starting to circle), or the soil might be depleted of nutrients. Repotting gives them fresh soil and more space to stretch out.
When to Repot?
Ideally, you’ll want to repot your new plant a few weeks after bringing it home. This gives it time to acclimate to your environment without too much stress. Signs your plant might need repotting include roots growing out of the drainage holes, water running straight through the pot without soaking in, or the plant drying out very quickly.
What You’ll Need:
- A New Pot: Choose one that’s only 1-2 inches wider in diameter than its current pot. Too big a pot can lead to overwatering issues. Make sure it has drainage holes!
- Potting Mix: Use a good quality, well-draining potting mix. You can often find specific mixes for houseplants, cacti, or tropical plants, depending on your new plant’s needs.
- Gardening Gloves (optional): If you prefer to keep your hands clean.
- A Trowel or Spoon: For scooping soil.
- A Watering Can: To give your plant a drink after repotting.
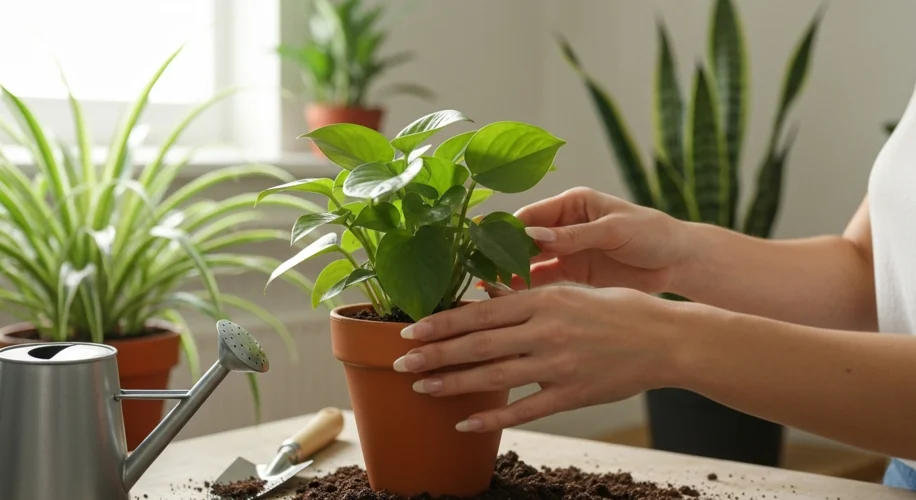
Let’s Get Our Hands Dirty!
- Prepare the New Pot: Add a small layer of fresh potting mix to the bottom of the new pot. This will give your plant something to sit on.
- Gently Remove the Plant: Turn the nursery pot on its side. You might need to gently tap the bottom or sides. If the plant is stuck, you can slide a knife or trowel around the inside edge of the pot. Support the plant by its base as you ease it out.
- Inspect the Roots: Gently loosen any roots that are tightly bound together. If there are a lot of circling roots, you can carefully tease them apart. You don’t need to do anything drastic here; just give them a little encouragement to grow outwards.
- Place in the New Pot: Position your plant in the center of the new pot, on top of the soil you added. The top of the plant’s root ball should be about an inch below the rim of the new pot.
- Fill with Soil: Add more potting mix around the sides of the root ball, gently firming it down as you go to eliminate air pockets. Don’t pack it in too tightly; you want the roots to be able to breathe.
- Water Thoroughly: Once the pot is filled, give your plant a good watering. This helps the soil settle around the roots and reduces transplant shock. Let any excess water drain away.
Aftercare:
Keep your newly repotted plant in a spot with appropriate light, but avoid direct, harsh sunlight for the first week or so. This helps it recover from the stress of repotting. Resume your regular watering schedule once you see signs of new growth.
Repotting might seem like a small step, but it makes a huge difference in helping your new plant thrive. It’s a rewarding way to show your plants some love and set them up for a happy, healthy life in your home. Happy planting!