
Hey everyone! Anya here. You know, when I’m not covered in paint or dreaming up new prints for my shop, I love experimenting in the kitchen. As an artist, I’m always looking for creative shortcuts and ways to simplify processes, and that definitely extends to my cooking.
Lately, I’ve been fascinated with air fryers. They’re a great way to get that crispy texture without deep frying, which is perfect for my small Brooklyn apartment kitchen. But here’s the thing: traditional fried chicken recipes often involve a lot of fuss with multiple bowls for flour, egg, and breadcrumbs. It can get messy, and honestly, sometimes I just want delicious fried chicken without all the prep.
So, I’ve been playing around with ways to get that satisfying crunch with a lot less batter-prep work. It’s like a kitchen hack, really!
The Challenge: How to achieve that golden, crispy coating on chicken in an air fryer without the typical three-step dredging process?
My Creative Approach:
I realized the key is to simplify the coating and make it adhere well. Instead of separate wet and dry mixtures, I started thinking about a single, flavor-packed coating that could stick directly to the chicken.
What I Tried:
- The Spice Mix Marinade: First, I found that marinating the chicken pieces (like thighs or drumsticks) in a seasoned yogurt or buttermilk mixture works wonders. This not only tenderizes the chicken but also creates a slightly sticky surface for the coating.
- A Panko Powerhouse: My breakthrough came with using Panko breadcrumbs. They’re lighter and crispier than regular breadcrumbs. Instead of a separate flour dredge, I experimented with mixing my seasonings directly into the Panko. Think garlic powder, onion powder, paprika, a pinch of cayenne for a little kick, and some salt and pepper.
- The Simple Dip & Coat: After marinating, I simply patted the chicken slightly dry (you don’t want it too wet) and then rolled the pieces directly in the seasoned Panko mixture. Pressing gently helps the Panko adhere.
The Air Frying Magic:
I preheated my air fryer to around 375°F (190°C). Then, I placed the coated chicken in a single layer, making sure not to overcrowd the basket. A light spray of cooking oil over the chicken before air frying really helps with browning and crispiness. I cooked them for about 20-25 minutes, flipping halfway through, until they were golden brown and cooked through.
The Result:
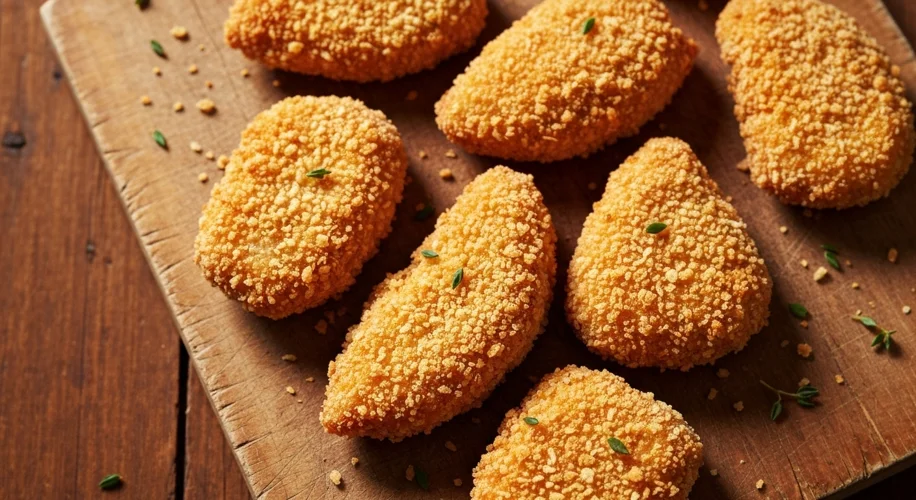
It worked! I got incredibly crispy, flavorful chicken with a fraction of the usual batter mess. The Panko clung beautifully, creating a crunchy shell, and the yogurt marinade kept the chicken juicy. It felt like a true creative solution – simplifying a process to achieve a great outcome. It’s all about finding those artful shortcuts in everyday life, right?
This method has become my go-to for quick, delicious air fryer chicken. Give it a try and see how you can simplify your kitchen creativity!