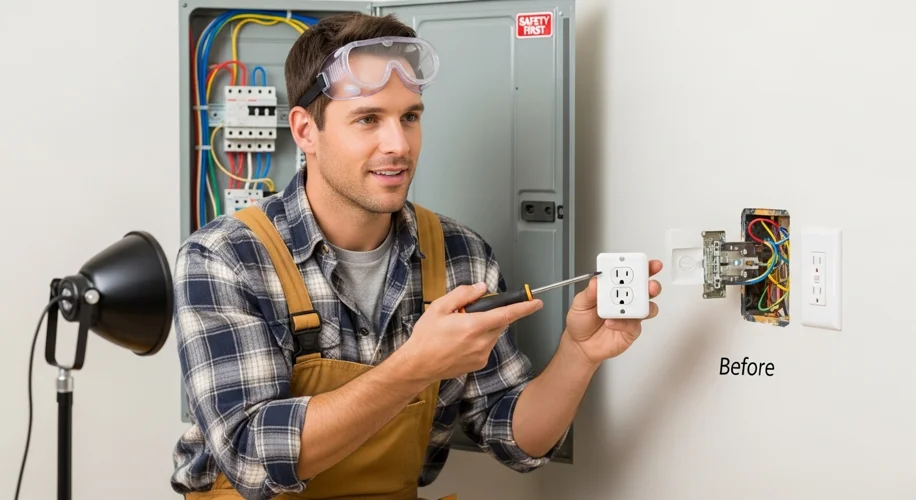
It’s August 1st, 2025, and if you’re like me, you’ve probably got a few things around the house that could use a little attention. One common issue that pops up is a faulty electrical receptacle, also known as an outlet. Maybe it’s loose, doesn’t hold a plug securely, or simply stopped working altogether. Replacing one is a totally manageable DIY project that can make your home safer and more functional.
Before we dive in, safety is the absolute top priority. Electricity can be dangerous, so if you’re ever unsure or uncomfortable, please call a qualified electrician.
What You’ll Need:
- New Receptacle: Make sure it’s the correct type (standard 15-amp or 20-amp, GFCI if needed for areas like kitchens or bathrooms).
- Screwdriver: Usually a Phillips head and a flathead.
- Wire Strippers/Cutters: For preparing the wires.
- Needle-Nose Pliers: Helpful for bending wire ends.
- Voltage Tester: A non-contact voltage tester is a great safety tool.
- New Wall Plate: Often a good idea to replace the old one.
Step-by-Step: Let’s Get This Done!
- Find the Breaker Box and Turn Off the Power: This is the most critical step. Locate your home’s electrical panel (breaker box). Find the breaker that controls the circuit for the outlet you’re replacing. Flip it to the ‘OFF’ position. If your breakers aren’t labeled clearly, you might need to turn off the main breaker, but it’s best to isolate the specific circuit if possible.
-
Test the Outlet to Confirm Power is Off: Grab your voltage tester. Go back to the outlet you’re working on. Remove the wall plate. Carefully touch the probes of your voltage tester to the screws on the sides of the receptacle, or insert them into the slots if it’s a non-contact tester. If the tester shows no power, you’re good to go. Never skip this step!
-
Remove the Old Receptacle: With the power confirmed off, unscrew the receptacle from the electrical box using your screwdriver. Gently pull it away from the wall so you can see the wires attached to it. There are usually two screws on the sides (connected to the hot and neutral wires) and a green screw at the bottom for the ground wire.
-
Disconnect the Wires: Loosen the terminal screws holding the wires in place. Carefully remove each wire from its terminal. Note which wire goes to which terminal. Typically, the black wire (hot) goes to a brass or dark-colored screw, the white wire (neutral) goes to a silver screw, and the bare copper or green wire (ground) goes to the green screw.
-
Prepare the New Receptacle Wires: If your new receptacle has screw terminals, you’ll want to create a small hook with the end of each wire using your pliers. If it has push-in ‘back-stab’ connections, you can skip this, but screw terminals are generally preferred for a more secure connection.
-
Connect the Wires to the New Receptacle: Attach the wires to the new receptacle according to how they were connected to the old one: ground wire to the green screw, white wire to the silver screw, and black wire to the brass screw. Make sure the hook of the wire wraps clockwise around the screw so it tightens as you turn the screw. Ensure no bare wire is exposed beyond the terminal screw.
-
Install the New Receptacle: Carefully push the wires back into the electrical box, making sure they aren’t pinched. Screw the new receptacle into the box. Align the wall plate and screw it into place.
-
Turn the Power Back On: Go back to your breaker box and flip the breaker for that circuit back to the ‘ON’ position.
-
Test the New Outlet: Use your voltage tester again to confirm the outlet is working. You can also try plugging in a small lamp or appliance.
And that’s it! You’ve successfully replaced an electrical receptacle. It’s a small fix that can make a big difference in the everyday functionality of your home. Remember, taking the time to do it safely will give you peace of mind.

